This guide explains the technical decisions behind a wall mural: product format, wall measurements, artwork preparation, surface condition, panel sequence, seams, trimming and future removal. For visual scale, furniture relationships, crop and focal-wall planning, use the large wall mural planning guide.
Identify the mural construction
| Mural format | Installation principle | Specification to confirm |
|---|---|---|
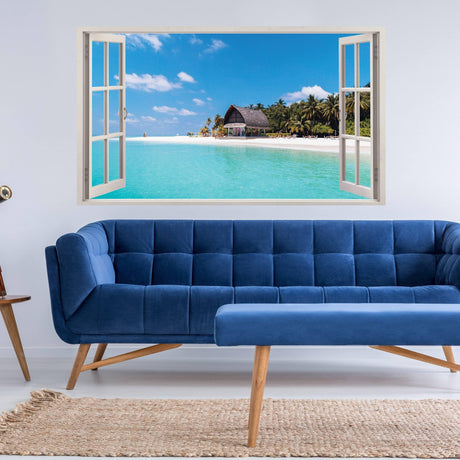
| Self-adhesive mural panels | Pressure-sensitive sections applied directly to a compatible wall | Panel width, seam type, repositioning limits, wall compatibility and removal |
| Paste-applied wallpaper mural | Paste is applied according to the material instructions | Paste type, wall primer, soaking or booking requirements and stripping method |
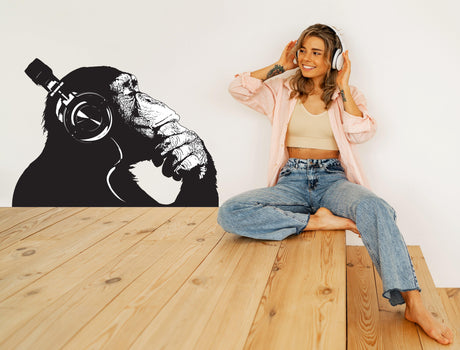
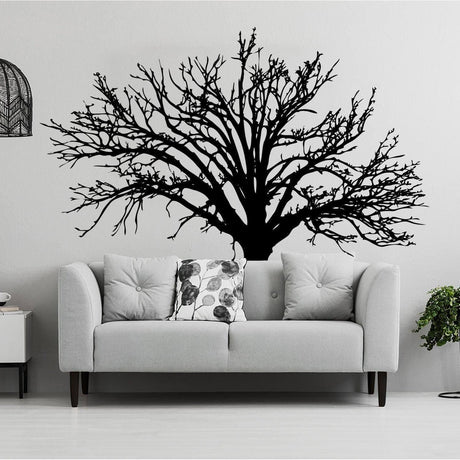
| Separate mural decals | Individual coordinated graphics leave visible wall between elements | Finished arrangement, transfer material, spacing and size of each element |
| Rigid mural panels | Boards, tiles or sheets are mechanically fixed or bonded | Panel weight, wall structure, joints, fixings and access |
| Painted mural | Artwork is transferred and painted directly on the wall | Surface system, artwork rights, paint, protective finish and future repainting |
Do not transfer installation, cleaning or removal instructions from one format to another. The exact product specification controls the project.
Prepare a complete technical specification
- Finished mural width and height
- Number and width of panels
- Butt joint, overlap or another seam method
- Bleed and trimming allowance
- Material, finish and adhesive or paste system
- Intended wall and room conditions
- Approved artwork, crop and panel divisions
- Installation temperature, tools, care and removal method
Measure the wall at several points
- Measure width near the top, centre and bottom.
- Measure height at the left, centre and right.
- Record skirting, coving, sockets, switches, windows, doors, columns and fixed furniture.
- Check whether the floor, ceiling and corners are level or square.
- Photograph the wall straight on and include a known reference measurement.
- Use the supplier’s required allowance rather than ordering only the visible area.
When measurements differ, the production plan must allow for trimming and the final crop. Do not assume that stretching a panel can correct an uneven wall.
Measure connected walls and corners separately
For a mural continuing around a corner, record every wall face independently. Decide whether the image should continue through the corner or use separate compositions. Important faces, words and logos should not cross a corner unless the proof deliberately accounts for the changed viewing angle and physical fold.
Prepare artwork at the final physical size
A file that looks sharp on a phone or monitor can still be unsuitable for a full wall. Evaluate pixel dimensions, compression, crop and normal viewing distance at the intended print size. Use the original source file rather than a screenshot or an image downloaded from social media.
Vector artwork is useful for logos, text and line graphics. Raster photographs and illustrations need enough resolution for the final dimensions. Use original or properly licensed artwork and retain evidence of reproduction rights.
Approve a production proof
| Proof item | What to verify |
|---|---|
| Dimensions | Final wall size, print size, bleed and trimming allowance |
| Crop | Which image areas remain visible after fitting |
| Panel divisions | Where every seam crosses the artwork |
| Important content | Faces, text, logos and focal details remain clear of vulnerable joins and obstacles |
| Orientation | Correct left, right, top and bottom relationship |
| Colour | Approved reference or sample where colour control is important |
Inspect and prepare the wall
The wall should be structurally sound and compatible with the selected system. Repair loose paint, cracks, dampness and unstable filler before installation. Dust, grease, silicone, pronounced texture, fresh paint and some stain-resistant coatings can affect adhesive or paste performance.
- Allow new coatings to cure for the full period specified by their manufacturer.
- Use only a preparation method compatible with the wall and mural.
- Let the surface dry completely.
- Test a sample when the coating or texture is uncertain.
Plan the panel sequence
- Unpack and identify every panel before installation.
- Confirm panel order, orientation and image continuity.
- Establish a true vertical starting reference with a level, laser or plumb line.
- Dry-position the first panel and confirm the starting crop.
- Install one panel at a time using the specified adhesive system.
- Check artwork alignment and seam position before continuing.
- Trim only after the panel is secure and according to the product method.
For self-adhesive panels, the detailed sequence is covered in the peel-and-stick wallpaper panel alignment guide.
Use the stated seam method
Some murals use butt joints, while others use an overlap that is retained or trimmed. Do not invent a seam method from another product. Stretching the material to force an image match can create distortion, tension or later movement.
Plan access and installation control
Tall walls, wide panels, stairwells, complex corners and high-value artwork can require two installers, stable access equipment or professional fitting. Confirm how panels will be supported without creasing, contaminating or dragging the printed surface.
Care and future removal
Use only the cleaning method approved for the material and finish. Washable does not automatically mean suitable for abrasion, steam, solvents or commercial cleaning. Removal depends on the adhesive or paste, wall coating, installation period and environment. Keep the product specification and a spare sample for future reference.
Frequently asked questions
Should extra material be ordered?
Use the allowance required by the supplier. The correct amount depends on wall variation, panel construction, pattern repeat, bleed and trimming method.
Can a mural be installed on textured paint?
Only when the exact material supports that texture. Pronounced texture can affect contact, seams and appearance, so test first.
Is a mural the same as a wall decal?
Not necessarily. A mural normally forms a connected large image, while decals may be separate graphics that leave the wall visible.
Can a phone photograph be printed as a mural?
Possibly, but the original file must be assessed at the final size. A compressed copy or screenshot is a weaker source.