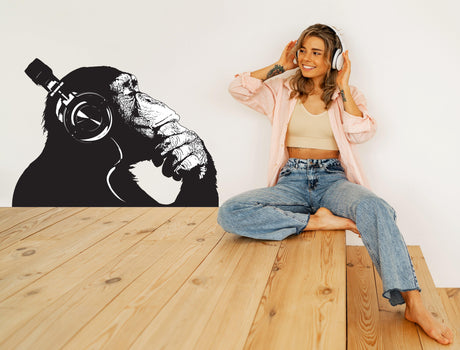
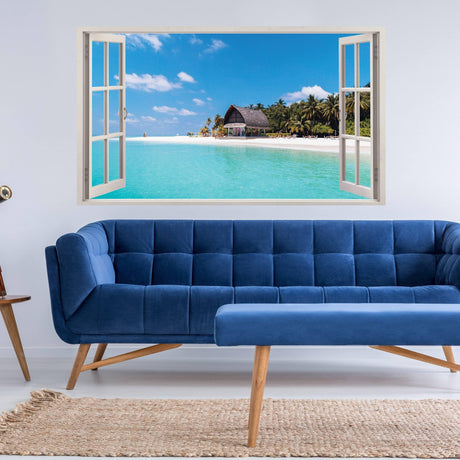
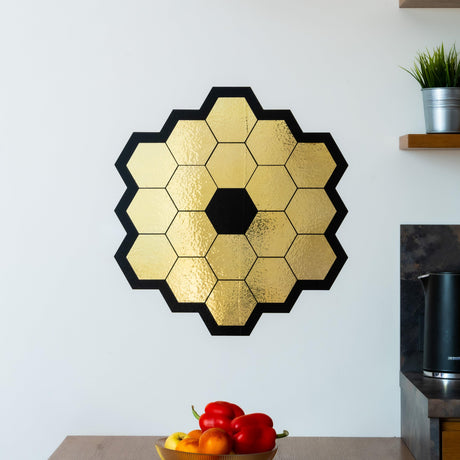
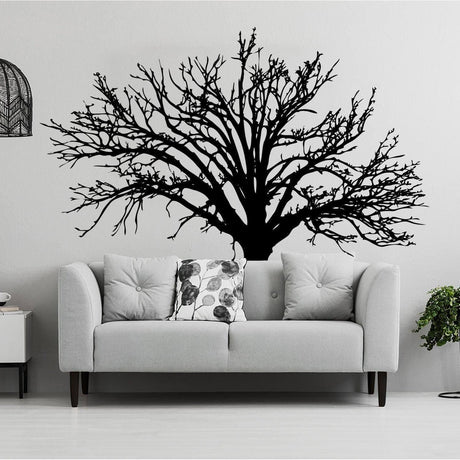
Adhesive wall art includes printed illustrations, cut lettering, mural stickers and coordinated multi-piece decals. It can create a focal point without frames or permanent fixtures, but product construction, intended surfaces and removal behavior vary.
Identify the exact product type
- Printed art decal: supports detailed images, color transitions and custom artwork.
- Cut vinyl design: suits solid-color lettering, lines and simple shapes.
- Multi-piece composition: allows flexible spacing but creates more individual edges.
- Mural sticker: forms a larger scene or connected visual statement.
- Specialty finish: metallic, textured, chalkboard or light-reactive products require their own documentation.
Do not assume that all adhesive wall art can be installed, cleaned or removed by the same method.
Define the visual purpose
Decide whether the design should anchor furniture, identify a reading or work area, display information or support other art. One clear role makes it easier to choose the scale and contrast.
Measure against furniture
Record the clear wall area and the width of the sofa, bed, desk or sideboard below it. A horizontal design can relate to wide furniture, while a vertical composition may suit a narrow entryway. Mark the finished dimensions with low-tack tape and view the outline from a distance.
Select original or authorized artwork
Use original illustrations, licensed assets or custom artwork you have permission to reproduce. Avoid copied characters, logos and artist work. For printed designs, check file resolution at the final size and approve the crop and cut path.
Plan color and finish
Repeat a limited number of colors already present in textiles or furniture. Strong contrast keeps fine details visible, while softer contrast reduces visual weight. Matte, glossy, metallic and transparent finishes respond differently to lighting and wall color.
Check the wall and intended exposure
Inspect for loose paint, dust, texture, dampness and cleaning residue. Let fresh paint cure according to the paint manufacturer's instructions. Kitchens, bathrooms and commercial areas can require product-specific resistance to moisture or cleaning.
Preview the layout
Arrange separate elements before removing backing material. Use paper templates or temporary tape to establish spacing and alignment. Check the layout from the main viewing position and confirm that doors, curtains and furniture will not hide important details.
Install gradually
Follow the method supplied for peel-and-stick material or transfer film. Apply one manageable section at a time, smooth from the secured area outward and avoid stretching. Large connected pieces may be easier with a second person.
Combine adhesive art with other formats
Adhesive art can sit beside framed prints or shelves, but one element should remain dominant. Leave consistent open space around each format and avoid overlapping decals with objects that move or vibrate.
Use product-specific care
Do not assume the surface is washable or suitable for household cleaners. Use only care methods confirmed for the exact finish. When removing, peel slowly at a low angle and stop if paint begins to lift.
Frequently asked questions
Can adhesive wall art be used on textured paint?
Texture reduces adhesive contact. Check the exact product guidance and test the intended wall first.
Is every adhesive wall design repositionable?
No. Repositioning and reuse depend on the material, adhesive, wall and time installed.
Will removal always leave paint unchanged?
No universal result can be guaranteed. Paint quality, curing, age, texture and removal method all matter.
Can adhesive wall art be installed in a bathroom?
Only when the exact product and wall surface are suitable for the expected moisture and cleaning conditions.