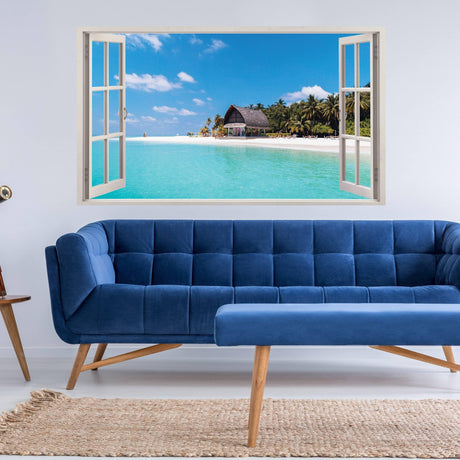
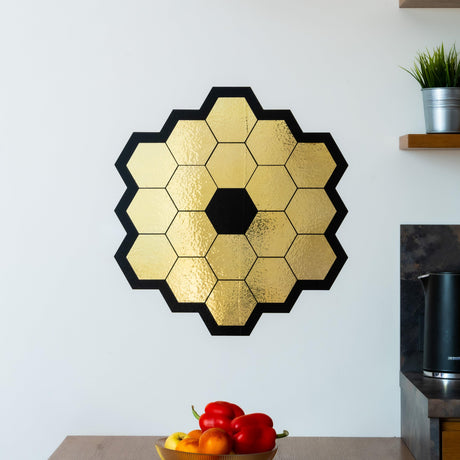
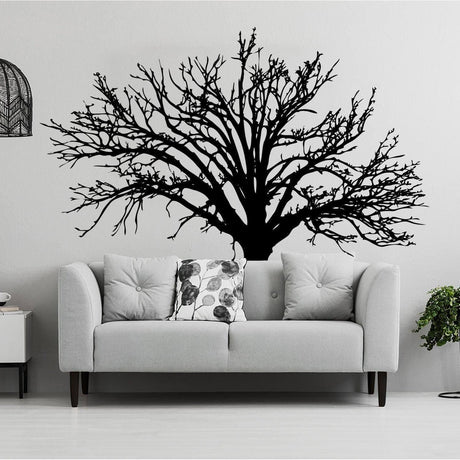
A wall sticker kit contains several elements designed to form one composition or repeated pattern. The backing-sheet size may differ from the final installed dimensions, so the complete layout should be planned before any piece is applied.
Check what the kit includes
Review the number of sheets, individual elements, finished example dimensions, transfer material and installation guide. Confirm whether the shown layout is fixed or can be rearranged.
Measure the final composition
Mark the usable wall area and account for furniture, switches, doors and shelves. Use the listed finished dimensions rather than only the package or sheet size.
Choose a reference layout
Photograph or print the intended arrangement. Identify the largest anchor element and determine the spacing between smaller parts. For repeated shapes, create a paper template.
Prepare the wall
The surface should be clean, dry, stable and fully cured. Test uncertain paint, texture or coatings. Do not install over loose paint, dust or dampness.
Apply in sequence
- Arrange every sheet and element.
- Mark a level reference.
- Install the main anchor piece.
- Add supporting elements in sections.
- Step back and check spacing.
Keep useful records
Save the layout image, product instructions and any spare elements. Do not assume the full kit can be repositioned after application unless the product states this.
Frequently asked questions
Is the sheet size the final wall size?
Not always. Separate elements can form a much larger composition.
Can the layout be changed?
Often, but confirm whether the design depends on fixed alignment or overlaps.
Can a kit be reused?
Only when reuse is specified for the exact material and product.