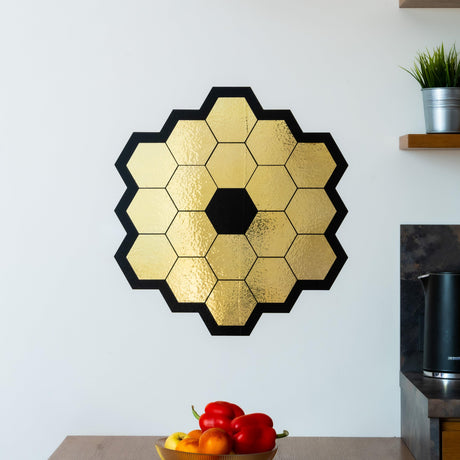
Geometric wall stickers can create rhythm, structure and visual depth without requiring a complex illustration. Simple shapes are flexible, but the final effect depends on consistent spacing, accurate alignment and a pattern that suits the scale of the room.
Start with the room, not the pattern
Identify the wall's role in the room. A wall behind a desk may need a calm, ordered pattern. A play area can support larger shapes and stronger contrast. A narrow hallway often benefits from a simple repeated element rather than a dense design.
Record the usable width and height after excluding furniture, switches, sockets, vents and trim. Photograph the wall straight on and make a basic sketch before deciding how many stickers are required.
Choose pattern density and scale
Small shapes create more visual activity and require more precise spacing. Large shapes are easier to see from a distance and can make a stronger focal point. Irregular layouts feel informal, while grids and repeated lines feel more architectural.
- Use a grid for a clean and controlled appearance.
- Use alternating rows to create movement without random placement.
- Use a loose cluster when the design should fade into open wall space.
- Use a border or vertical strip to define a zone without covering the full wall.
Test the arrangement with paper templates or painter's tape. View it from the room entrance and from the normal seated or standing position.
Coordinate color and contrast
A geometric pattern can either blend with the wall or stand out clearly. Similar tones create a subtle texture. Contrasting colors emphasize every alignment difference, so measuring becomes especially important.
Screen colors are only an approximation of printed or cut vinyl. Lighting, wall color and surface finish influence the result. Request a material or color sample when an exact match is important.
Confirm surface compatibility
Check the product specification for the intended surface and environment. Smooth, clean and fully cured painted walls are usually easier to work with than textured, dusty or freshly painted surfaces. Some stain-resistant, washable or low-surface-energy coatings may require testing.
Do not transfer performance claims from one sticker type to another. Printed decals, solid-color cut vinyl and specialty films can use different adhesives and care instructions.
Create an installation plan
- Clean and dry the wall according to the paint or coating requirements.
- Draw a light plan on paper and establish level reference lines with removable tape.
- Make a spacing template from card to repeat gaps consistently.
- Install a small central or corner section first and check the pattern from a distance.
- Apply each shape with even pressure, working outward to avoid trapped air.
For a full-wall grid, measure from one stable reference rather than repeatedly measuring from the previous sticker. This prevents small spacing errors from accumulating across the wall.
Adapt the pattern around obstacles
Decide in advance whether the pattern should stop before switches and shelves, continue visually around them or use them as part of the composition. Avoid placing narrow sticker sections over unstable edges or gaps. Keep important shapes away from areas that are frequently rubbed or exposed to heat and moisture unless the product is specified for those conditions.
Frequently asked questions
How many stickers do I need?
Calculate the number of rows and columns from the usable wall dimensions, sticker size and planned gaps. Add a small allowance only if the layout permits replacements or trimming.
Can several colors be combined?
Yes, but confirm the available materials and compare physical samples when color coordination is important.
Can geometric stickers be removed later?
Removal depends on the adhesive, wall coating, installation time and environmental conditions. Follow the instructions for the specific product and test carefully when the wall finish is delicate.
Related guides
Related collection: Explore geometric designs alongside the wider range of wall decals and wall stickers.