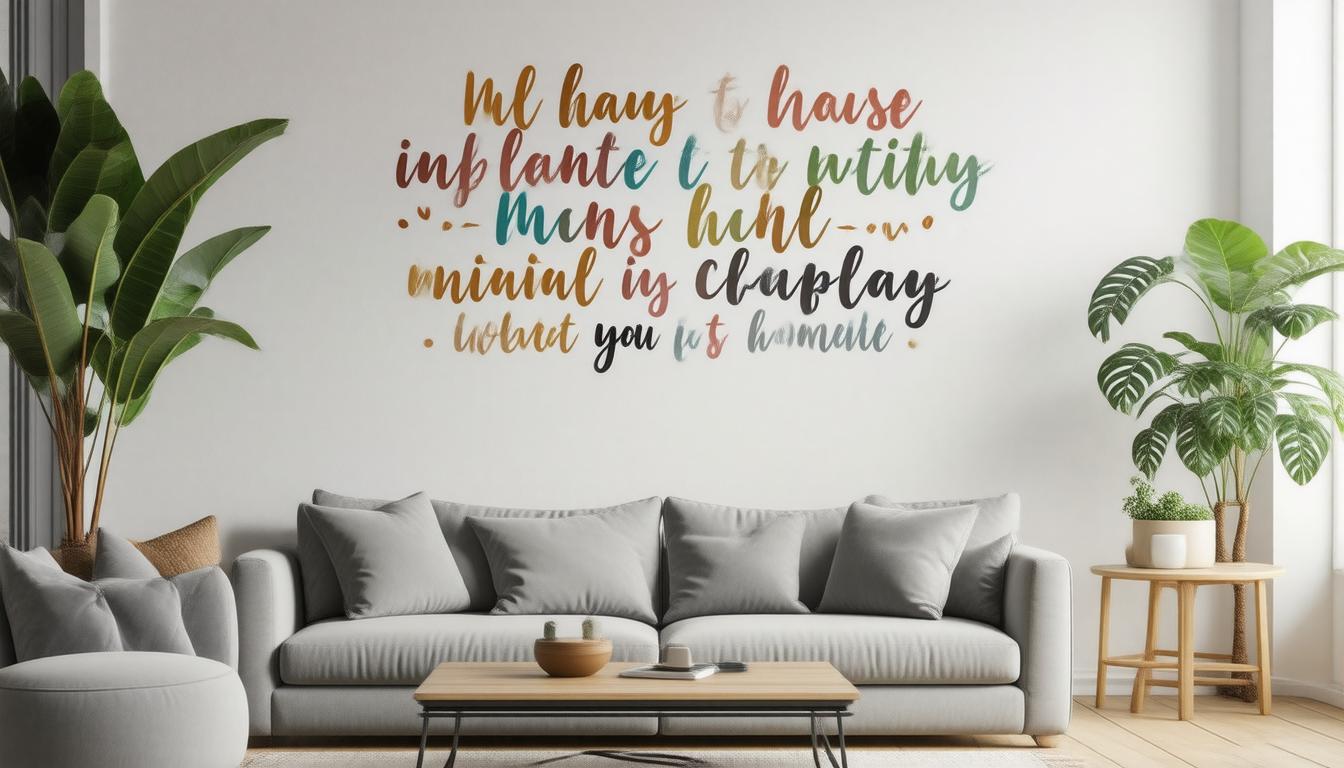
Wall lettering can turn a name, quote, room label, opening hours or business message into a clean graphic without adding a printed rectangular background. A good result depends on wording length, font construction, overall dimensions, contrast, viewing distance, surface condition and installation method.
For made-to-order text, see our custom vinyl lettering and use this guide to prepare the wording, font, color and finished dimensions. Confirm the measurement unit and final width and height before ordering.
What is wall lettering?
Most wall lettering is produced as individually cut vinyl letters held in position by transfer tape. After installation, the wall remains visible around and inside the letters. This differs from a printed decal, which can contain gradients, photographs and full-colour artwork, and from dimensional signs, which project physically from the wall.
| Format | Best for | Main limitation |
|---|---|---|
| Cut vinyl lettering | Names, quotes, opening hours and concise messages | Very thin strokes and tiny detached details may not be producible |
| Printed contour-cut decal | Full-colour text, logos and illustrated lettering | May include a printed outline or background depending on the artwork |
| Dimensional letters | Permanent signs and physical depth | Different mounting, weight and wall requirements |
Start with the exact wording
Finalize spelling, punctuation, capitalization, line breaks and reading order before production. Short wording is easier to read and install. For a logo, slogan, quotation or branded phrase, use artwork and text that you are authorized to reproduce.
Choose a font that can be cut and installed
Lettering must remain physically connected and strong enough to transfer. Very fine scripts, tiny serifs, distressed textures and narrow gaps can disappear or lift during installation. A complex font may need a larger finished size or simplified details.
- Use bold or medium-weight fonts for long viewing distances.
- Increase size and spacing for scripts and narrow letterforms.
- Avoid making punctuation and dots so small that they are difficult to position.
- Print a paper sample when the exact appearance is important.
Understand which dimension you are ordering
Confirm whether the listed size refers to the overall width, overall height, letter height or the complete multi-line composition. A long sentence fitted into a fixed width produces shorter letters than a short word in the same width.
Measure the usable area rather than the full wall. Account for furniture, doors, switches, sockets, shelves, mouldings and the normal viewing direction. Mark the proposed outer boundary with tape and view it from the intended distance.
Use the wall decal measuring guide to check both width and height. For multi-line text, record the whole arrangement as well as any minimum letter height you need for readability.
Plan contrast and readability
Strong contrast improves readability. Dark lettering usually reads more clearly on a light wall, while light lettering works better on a dark wall. Patterned wallpaper, heavy texture and changing light can reduce clarity. Metallic and gloss colours can look different as the viewing angle changes.
Choose alignment before installation
Decide whether the text should align with the wall, furniture, doorway or another architectural reference. Floors and ceilings are not always level. Use a measured centreline or baseline and a spirit level rather than relying only on nearby edges.
Check the wall surface
Wall lettering generally performs best on a clean, dry, smooth, stable and fully cured finish compatible with adhesive vinyl. Dust, grease, silicone, moisture, heavy texture, weak paint and some stain-resistant or low-surface-energy coatings can reduce adhesion.
Allow fresh paint to cure according to the paint manufacturer’s instructions. Test a discreet area when the coating is unknown or delicate.
How transfer-tape installation works
- Leave the lettering flat and allow it to reach room temperature.
- Clean the wall with the method specified for the product.
- Position the complete transfer sheet and secure it with low-tack tape.
- Create a hinge or use the installation method supplied with the order.
- Press the letters firmly and evenly without stretching the vinyl.
- Remove the transfer layer slowly at the instructed angle.
- Stop and press again if any letter remains attached to the transfer material.
- Inspect small punctuation, dots and fine strokes before finishing.
Multi-line quotes and large lettering
Large compositions may arrive in aligned sections. Lay out every section before application, confirm line spacing and use shared reference marks. Align the actual letters and registration points rather than the edges of the backing paper.
Care and removal
Clean lettering with a soft dry or slightly damp cloth. Avoid abrasive pads, solvents and aggressive cleaners. Removal depends on the adhesive, paint, wall preparation, temperature and length of use. Universal residue-free or paint-safe removal cannot be guaranteed.
Frequently asked questions
Can any font be used?
No. Very fine or complex fonts may need simplification, thicker strokes or a larger finished size.
Does wall lettering have a clear background?
Cut vinyl lettering normally has no permanent printed background. Transfer tape is removed after installation. Confirm the exact construction on the product page.
Can lettering include a logo?
Yes, when the artwork is authorized and suitable for cutting or printing.
Can I reposition the letters?
Only while the specific material and installation method allow it. Repeated removal and reuse are not generally guaranteed.
How do I order custom wording?
Prepare the exact text, approximate overall width or height, preferred font, colour, wall type and a photo of the installation area. Use the Custom Quote and Lettering Stickers collection to compare options, then confirm the complete dimensions and surface requirements for the selected product.
Compare lettering with other wall designs
Prefer an illustration or a decorative pattern rather than text? Browse our wall decals and wall stickers and compare the written dimensions, included pieces and surface guidance for each design.