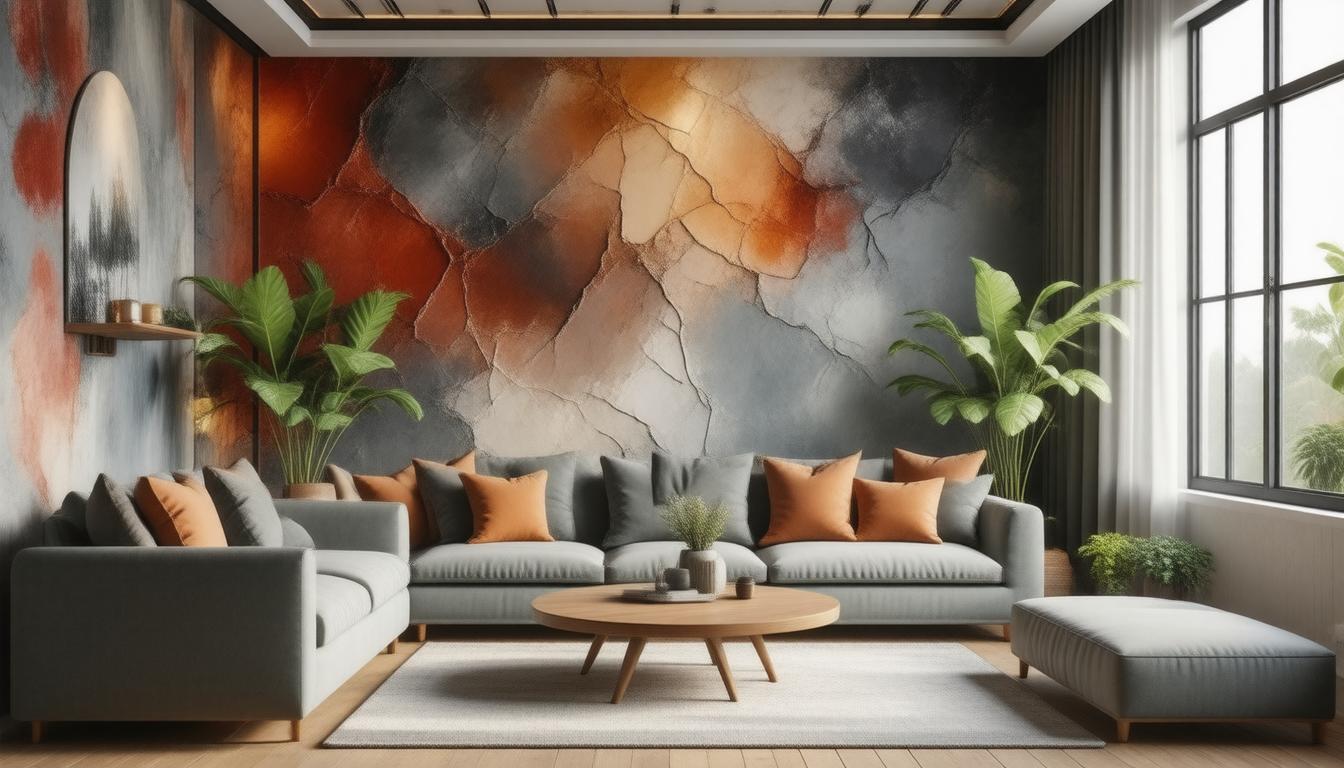
Textured wall stickers may have a physically embossed surface or a flat print that only looks textured. The wall itself may also have texture. These variables should be separated before selecting material or planning installation.
Confirm the sticker construction
Check whether the product has a raised finish, printed grain, fabric-like surface or smooth film. Product photographs alone may not show thickness or tactile detail accurately.
Assess the wall texture
Light orange-peel paint, deep plaster, brick and rough render provide different contact areas. Many self-adhesive films need a relatively smooth base. A sample test is more useful than a broad claim about textured walls.
Consider pattern and scale
Embossed effects and strong printed grain can become visually busy across a large area. View a sample from the intended distance and compare it under room lighting.
Prepare the surface
Remove dust using the method suitable for the wall and let it dry completely. Loose paint, powdery plaster and dampness must be corrected before application.
Install without forcing adhesion
Follow the pressure and tool guidance for the exact material. Excess pressure does not make an incompatible rough surface suitable and can damage raised finishes.
Plan cleaning and removal
Texture can trap dust and make aggressive cleaning risky. Use only approved care methods. Removal results depend on wall coating, adhesive and installation period.
Frequently asked questions
Will textured stickers hide wall damage?
No. They are decorative surfaces, not a repair layer for cracks, dampness or loose paint.
Can they be installed on rough plaster?
Only when the product specification allows it and a sample test confirms suitable contact.
Can a textured finish be washed?
Only according to the care instructions for that material.
Related guides
Related collection: Compare textured effects with other vinyl wall sticker designs and surface guidance.