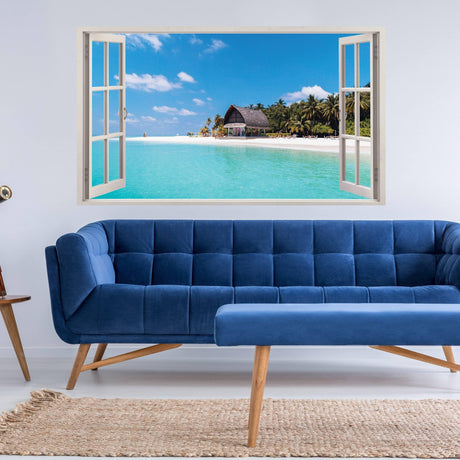
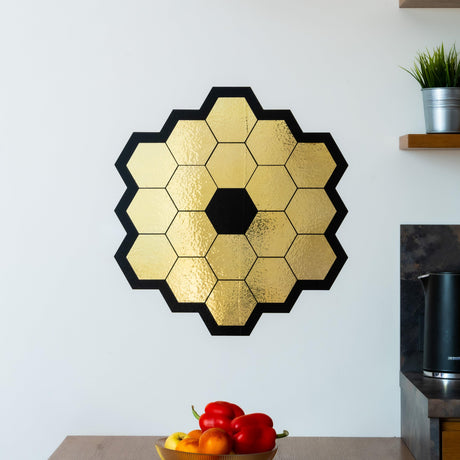
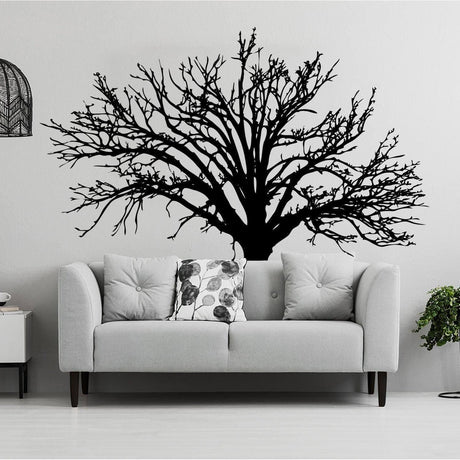
Living room wall stickers can create a focal point, connect colors across the room or add original lettering without changing every surface. A successful layout starts with furniture scale, viewing distance, lighting and wall condition.
Choose the role of the decal
Decide whether the design should be the main feature or a supporting accent. A large original botanical, geometric or abstract composition can anchor a seating area. Smaller decals can connect a reading corner, shelves or an entry transition without competing with existing artwork.
Avoid copying protected artwork, characters, brand marks, sports emblems or famous quotations. Original graphics and properly licensed content make the room more distinctive and reduce intellectual-property risk.
Select the focal wall
Choose a surface visible from the main entrance or seating area. Avoid walls already crowded with shelves, screens and strong patterns. The decal should support the room's visual hierarchy rather than compete with every object around it.
Measure against the furniture
Measure the available wall area and the furniture below it. Product images may not show exact scale. Use a paper outline or low-tack tape to preview the listed width and height from the normal seating position. Leave enough space around the design so it does not appear squeezed between lamps, shelves or curtains.
- Above a sofa: relate the composition to the seating width.
- Behind a console: account for lamps and objects on the surface.
- Near a television: use restrained contrast to reduce visual competition.
- On a large empty wall: consider several connected elements instead of one undersized piece.
Planning a larger design above a sofa? Use the large living-room decal size example to compare width, height and the space left around the artwork before selecting a size.
Coordinate color, finish and style
Repeat one decal color in a cushion, frame or small accessory rather than matching the entire room. Screen colors are not exact physical references, so compare samples when a precise tone matters. Matte, gloss, metallic and textured finishes respond differently to light.
Review the layout under real lighting
Check the proposed position in daylight and under the lamps used in the evening. Lighting can change contrast, create glare and reveal surface texture. Small details that look clear on a screen may disappear when viewed from the sofa.
Check the surface
The wall should be clean, dry, stable and compatible with the product. Allow fresh paint to cure according to its manufacturer's guidance. Dust, grease, strong texture and fragile paint can affect adhesion or removal. Test a hidden area when the finish is delicate or unfamiliar.
Apply the design
- Arrange multi-piece elements before removing the backing.
- Use a level and low-tack guides for positioning.
- Apply gradually according to the product instructions.
- Smooth with a suitable tool without stretching the material.
- Inspect edges and small details before finishing.
Care and future removal
Dust with a soft cloth and avoid abrasive cleaners. Removal results vary by adhesive, paint and installation time. Do not assume that every wall sticker can be repeatedly repositioned or removed without affecting the surface. The Decords two-year guarantee applies only to qualifying printed interior wall decals; check the individual product page for coverage.
Frequently asked questions
Should a decal be centered on the wall or furniture?
Usually the furniture grouping determines the visual center, but the complete wall and sightline should be reviewed before installation.
Can wall stickers be applied immediately after painting?
Wait until the coating is fully cured according to the paint manufacturer instructions.
Can a large decal cover wall defects?
A decal can make unevenness more noticeable and should not be installed over loose paint, moisture damage or structural defects.
Compare designs for your room
Browse all wall decals and wall stickers to compare designs beyond the living-room selection. Open the product page for the motif you like, select its size and check the written dimensions, included pieces and wall requirements before ordering.